Water is never listed as an ingredient in cocktail recipes, and yet it exists in almost every single one. Many people don’t think twice about why drinks are served with different types of ice — big blocks, spheres, small cubes, crushed ice, or maybe even none at all. And yet, there’s a reason for each selection.
Ice is used to chill the drink as well as dilute the ingredients. Depending on the cocktail, you may want to add more ice to dilute the drink over time as it’s consumed. The type of ice used will dictate how quickly the dilution happens. The logic goes something like this: larger cubes mean that less surface area is exposed, and the ice is slower to melt. My favorite display of change over time is with the Old Fashioned. If made with a high-proof rye whiskey, the drink can be a little overpowering at first, but as the ice dilutes the drink, it softens up.
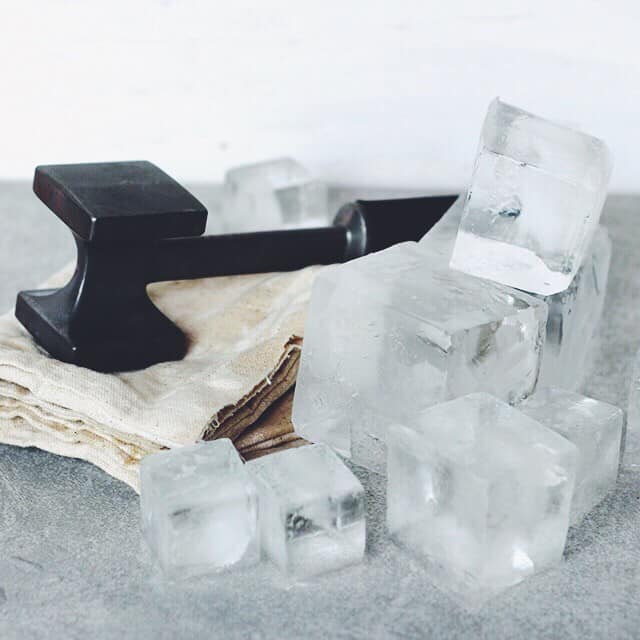
Fancy bars seem to be obsessed with the idea of clear ice, and there’s a good reason for that. Cloudy ice suggests impurities in the water, which generally means the water isn’t going to taste very good. Clear ice is made through a process in which ice freezes in layers, but those machines cost thousands of dollars.
You might not be able to create perfectly clear ice at home, but here’s how you can get fairly close: bring filtered water to a boil and pour into your ice tray(s). Once the ice has frozen, I transfer the cubes into a storage container to fend off “freezer taste.” (Have you ever gone somewhere for dinner and found that the water tasted weird with ice? Ice takes on flavor from the environment around it, which means it’ll have an odd taste the longer it’s exposed to the air inside the freezer.)
Here are a few tools that will help you create the right type of ice for any drink:
- 2.5 inch square cubes from Cocktail Kingdom (use for punch bowls or shave down to fit into your tumbler)
- 2 inch square cubes from Tivolo (not too big and not too small)
- 1 inch square cubes from Tivolo (get this if you’re only going to get one tray for your ice)
- Lewis bag for crushing ice (you can also just use towels)
- Ice mallet (I just use a meat tenderizer in place of a mallet)
- Ice tapper (I don’t actually have one of these; I just use the heavy end of a cheap bar spoon or muddler)
- Freezer container to store ice
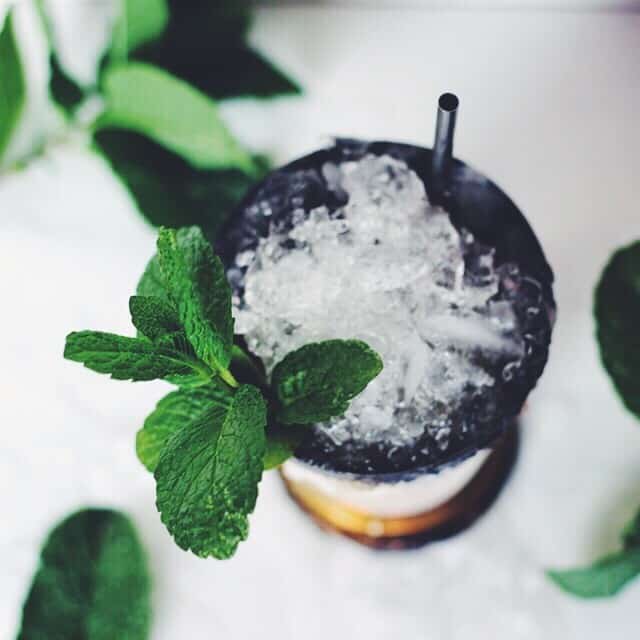
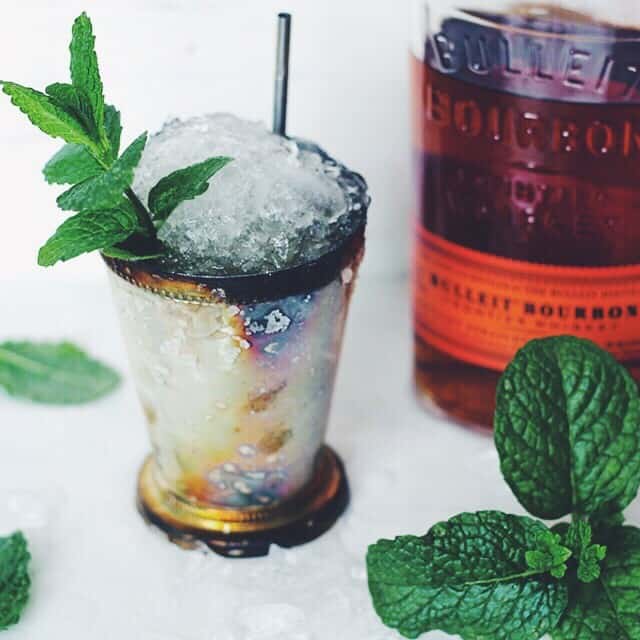
The best way to show off your ice skills is to make one of the most attractive drinks around: a classic Mint Julep. Practice a few times before the upcoming Kentucky Derby in May, where drinking anything else is blasphemy.
Glass
Glass: Julep cup
Recipe
2 oz bourbon (I recommend using a 90+ proof, such as Bulleit Bourbon)
.25 oz simple syrup (1 part water to 1 part sugar; heat the water first before dissolving the sugar)
1 bunch of fresh mint
Pour the bourbon and simple syrup into the julep cup. Place a few cubes inside of the Lewis bag or in between two kitchen towels and crush the ice with a meat tenderizer, ice mallet, or a heavy pan if you don’t have either.
Add the crushed ice into the julep cup until about half full. Give a quick stir for about 10 seconds. Add more ice until the cup is nearly full. Stir for another 10 seconds, until the cup is frosted over. Be sure to only hold the cup by its base so as to not warm up the rest of the cup.
Add more ice, creating a cone above the rim of the cup. Clap the bunch of mint between the palms of your hands to release the plant’s oils. You’ll want to place a julep straw (a shortened plastic straw will do the trick, too) such that when you take a sip from the straw your nose is resting right inside the mint. While there’s no mint muddled in the actual drink, the smell will make you think that you’re tasting it.
Explore other types of julep drinks by swapping the classic bourbon with your favorite spirit. I suggest trying a navy-strength rum like Smith & Cross.
Photography and styling by Hannah Simon.

