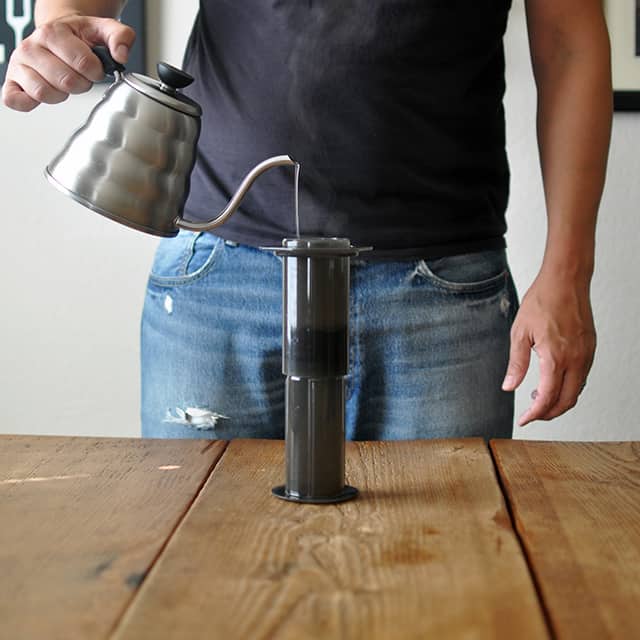
I love my Aeropress. It’s super easy to use: add coffee, add water, and press. Although that’s a bit of a simplification, it really is hard to go wrong. I’m also a fan of how portable it is. Virtually indestructible, you can cram it into any carry on bag while you’re traveling. I bring one with me to SXSW every year so I can enjoy good coffee from my hotel room.
Maybe best of all, it is very forgiving if you’re playing fast and loose. If you grind your coffee too coarse or too fine, you’re not going to ruin your coffee. Waited too long (or not long enough) to press the coffee? No problem. It’ll still taste better than most diner coffee.
Of course, despite how forgiving it is, using it correctly will produce an exceptional cup of coffee – not just a merely good one. Our recipe came together after lots of tweaking that involved combining elements from the Blue Bottle cookbook and the winners of the World Aeropress Championship to create something that we think is just right (and not too fussy). All of our measurements are in grams in part because, like many coffee connoisseurs, we use the Hario Coffee Drip Scale/Timer which measures everything in grams.
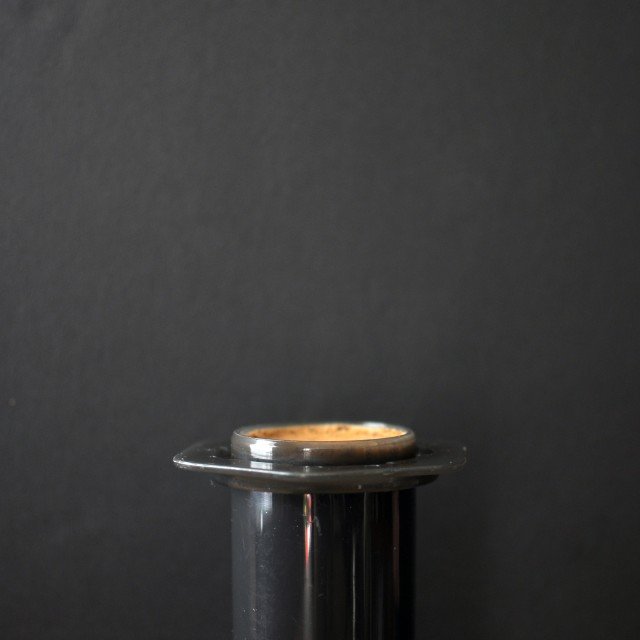
Here’s how we do it:
1. Boil The Water
First, heat approximately 400 grams of water in a kettle (we use a Hario swan neck kettle). As always, you’d like the water to reach a boil at about the same time as you’ve finished grinding your coffee. Once the fresh grounds are exposed to air they’ll start go stale so the sooner you start extracting the better. Once your water has reached a boil, remove it from the heat and let cool for about 5-10 seconds.
2. Grind
Grind 17 grams of coffee at a medium-to-coarse grind (our grinder has 16 settings and we set ours between “10” and “11”). As always, I highly recommend using a burr grinder for the best results such as this one.
3. Set up the Aeropress
Place the plunger end of the thinner Aeropress cylinder into the bottom of the wider cylinder. Set the Aeropress up so that the numbers appear upside down.
4. Bloom
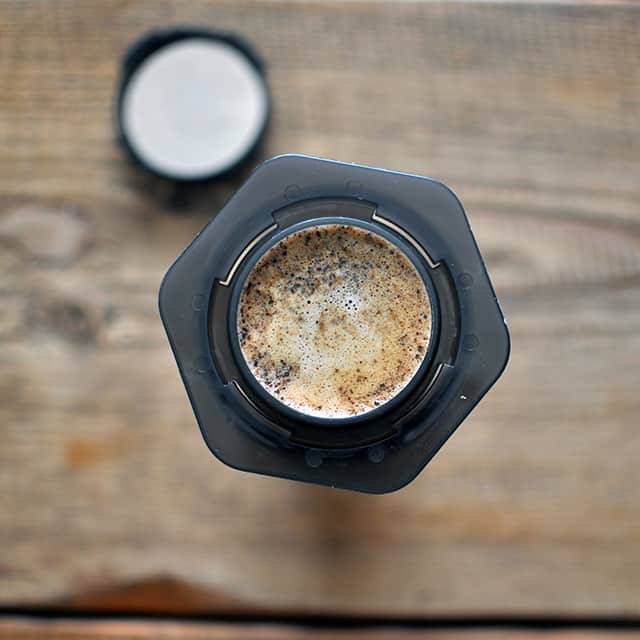
Using the funnel attachment for your Aeropress, add your grinds to the Aeropress so that grinds don’t spill into the gutter. Then add about 50 milliliters of water to the grinds in a slow steady pour to bring the grounds to a bloom. The “bloom” is the term that explains the way fresh coffee grounds puff up when you add hot water to it. It occurs because your coffee is releasing C02 and other gases produced during the roasting process.
5. Wait
Wait about 30 seconds. Stir the grinds with the Aeropress coffee stir to fully immerse the grounds and further develop your bloom before slowly adding about 200 milliliters of your remaining water.
6. Plunge
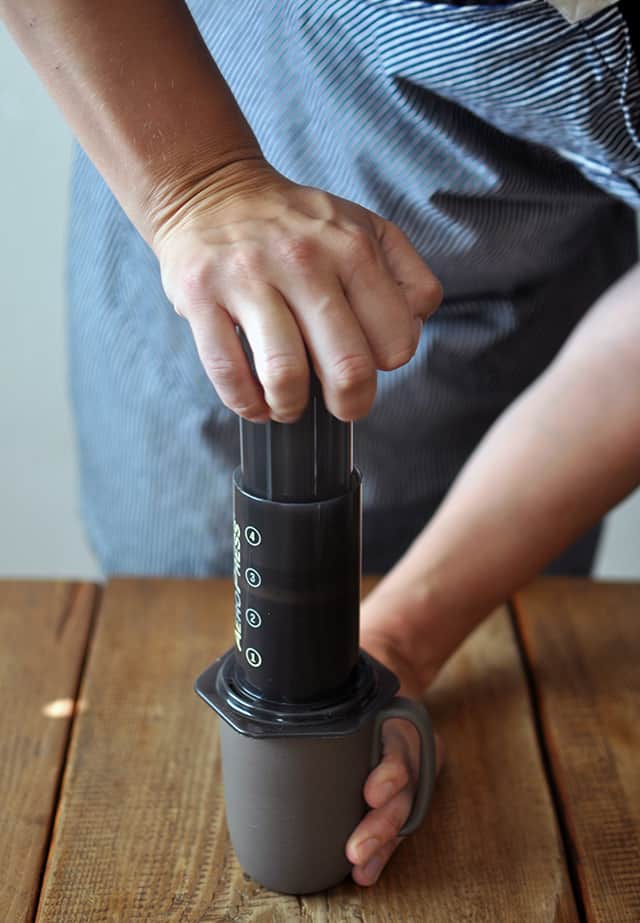
Once you’ve added all of your water, set a timer for 1 minute and 15 seconds. Place a paper filter or reuseable metal filter into the black filter cap of the Aeropress and rinse with some of the remaining hot water. When the timer goes off, twist the filter and cap securely onto the Aeropress. Place the funnel attachment on top (you’ll notice that the wide end of the funnel attachment is the same dimensions as the flared end of the Aeropress and fits comfortably on top) so that the funnel is pointed upwards. Place your coffee mug upside down on top of the thin end of the funnel and carefully, while keeping the coffee mug pressed up to the Aeropress, flip the mug and Aeropress so that the coffee mug is on the bottom with the Aeropress sitting on top. Slowly plunge the coffee with a steady, downward force until you hear a hiss from the remaining air escaping from the Aeropress – about 20 seconds total.
7. Enjoy!
Need an Aeropress? Get one here.
Looking to switch up your coffee game? Check out our guide to the ten best pour over coffee makers.

