‘Tis the season of edible holiday treats! Everyone I know is making peppermint bark, molasses cookies (+ smoky ginger-molasses cookies!), gingerbread, chocolate peppermint cookies, and hot chocolate with marshmallows, and I was starting to feel a little antsy that I hadn’t even broken into a jar molasses or peppermint extract. Yes, late at night, when I am ‘reading in bed’ (ie: devouring new food magazines and cookbooks), I’ve been thinking about how close I am to missing out on the holiday season. The young people call it FOMO, I hear.
This Fall, I only went through ONE CAN OF PUMPKIN PUREE. And already, it’s December? In food blogger/writer land, you cook holiday recipes before the holidays actually hit so all you good people out there can get inspired in the weeks leading up to said holiday and have enough time to menu plan. That means food writers are celebrating Christmas in July, organizing a fake Thanksgiving in August, and buying blueberries from Chile in the dead of winter for an outrageous amount of money. I’ve never been good at offering up a good stuffing or golden turkey prior to Thanksgiving, and you better believe I have not made a Christmas roast. I’ll leave that to the good people of Saveur and Bon Appetit.
But holiday treats? Holiday treats I can do. All year round, if you ask nicely. I’ll eat gingerbread in May and peppermint brownies in June. I’ll even make you pumpkin pancakes anytime your heart desires.
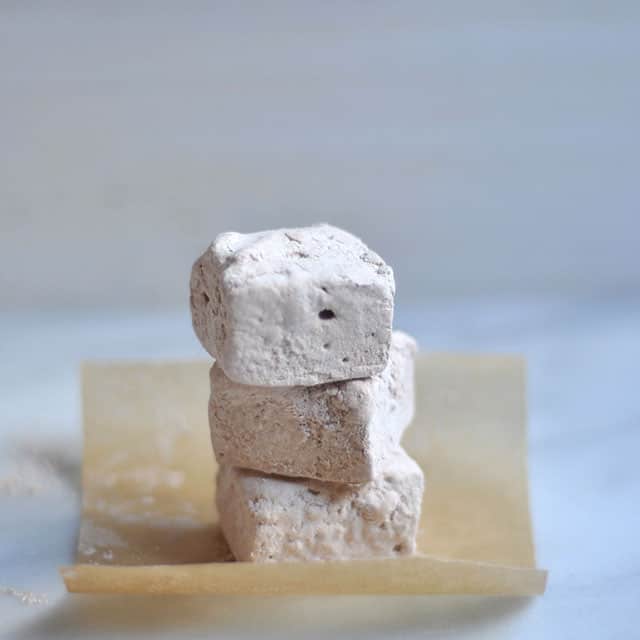
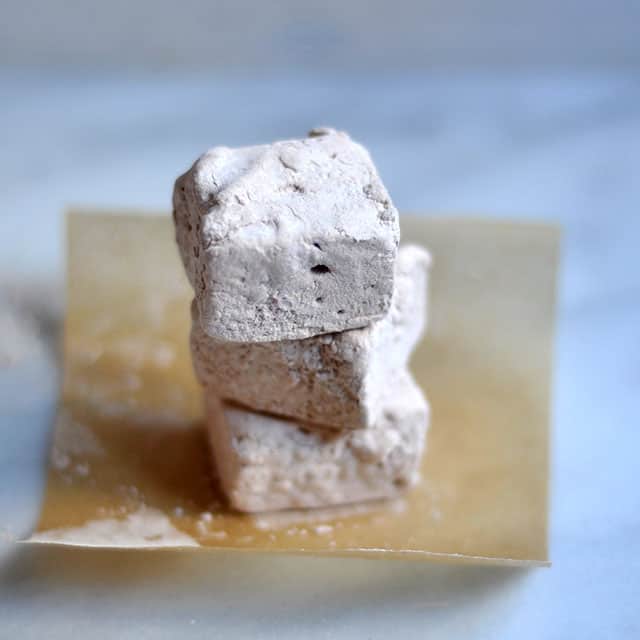
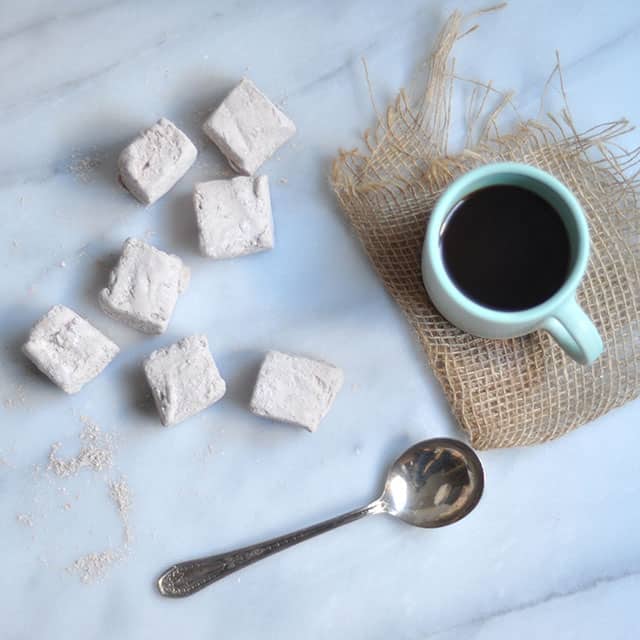
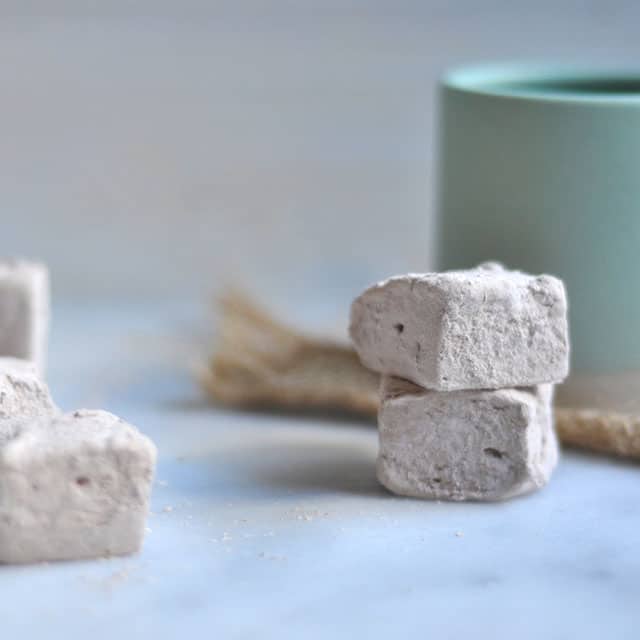
Last year, I made one bomb-ass recipe for Double Vanilla and Cardamom Marshmallows and I’ve been dreaming about it ever since. You put marshmallows in your hot chocolate, so why not make it extra chocolate-y? I bring you: Cocoa Marshmallows. They pair well with chocolate AND coffee, and travel particularly well. Though, don’t expect them to last long on your counter.
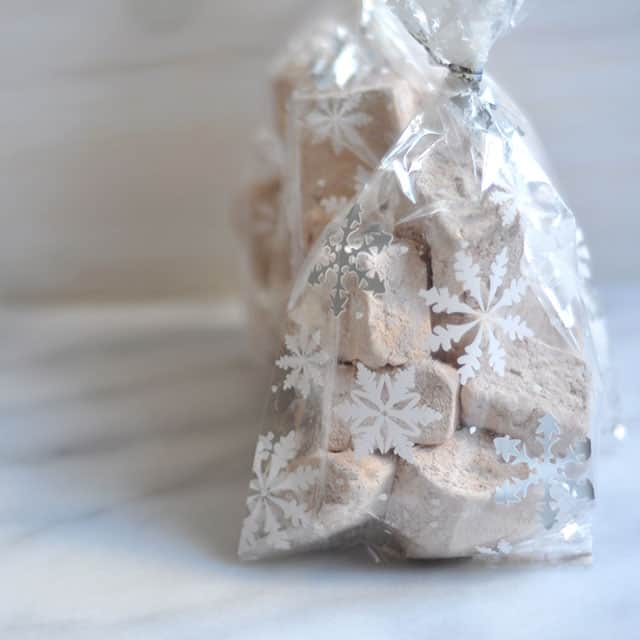
Cocoa Marshmallows
*makes approximately 45-50 1 1/2 – 2 inch marshmallow squares
adapted from this recipe
For the marshmallows:
Nonstick vegetable oil spray or vegetable oil
1 cup of cold water, divided
3 1/4-ounce envelopes of unflavored gelatin
2 cups of sugar
2/3 cup of light corn syrup
1/4 teaspoon of salt
1 teaspoon of pure vanilla extract
4 tablespoons of cocoa powder
For the coating:
1 tablespoon of cocoa powder
1/4 cup of cornstarch
1/4 cup of confectioners’ sugar
1. Line an 9 x 9 inch metal baking pan with foil and generously coat it with oil (either using a pastry brush or spray, depending on what you have on hand).
2. Add 1/2 cup of cold water to the bowl of a stand mixer fitted with a whisk attachment. Sprinkle gelatin over the water and allow it to rest and soften for about 15 minutes.
3. Meanwhile, add the sugar, corn syrup, salt and the remaining 1/2 cup of water to a medium saucepan. Heat over medium-low and stir the ingredients with a silicone spatula until the sugar has dissolved. Attach a candy thermometer to the pan and bring the syrup to a boil. Continue cooking, without stirring, until it reaches 240 degrees F (this should take approximately 8 minutes, but watch carefully).
4. Once the mixture has reached the desired temperature, remove the saucepan from the heat. Turn the mixer on to low speed and carefully (and slowly) pour the syrup down the side of the bowl and into the gelatin. Once you’ve poured out all of the syrup, increase the speed to high and beat for about 15 minutes, until the mixture is fluffy, white, thick and stiff. Add the vanilla extract and cocoa powder and beat in over low speed (otherwise the cocoa powder will go flying everywhere).
5. Use a wet silicone spatula to transfer the mixture to your pan and smooth the top. Let stand for at least 4 hours at room temperature (I would allow it to rest for 6-8 hours) or until it is firm.
6. Sift together the cornstarch and powdered sugar into a medium bowl. Sprinkle a generous amount of the mixture onto a cutting board. Turn out the marshmallow slab onto the cutting board and peel off the foil. Use either a very sharp knife or pizza cutter coated with oil to cut the slab into desired shapes (I just cut large cubes). You may need to clean off your knife and re-oil it as you work your way through the slab.
7. Transfer the rest of cornstarch-sugar mixture to a large freezer bag and add in the cocoa powder. Add the marshmallows (be sure to give them a nice roll in the cornstarch-sugar mixture on your cutting board first). Seal and shake to coat. Shake off any excess mixture and transfer coated marshmallows to a tupperware or plate.
The marshmallows will keep in a tightly sealed container for about two weeks.
Musical Pairings: Cuushe – Butterfly Case + Cocoa Marshmallows
 More on the Turntable.

